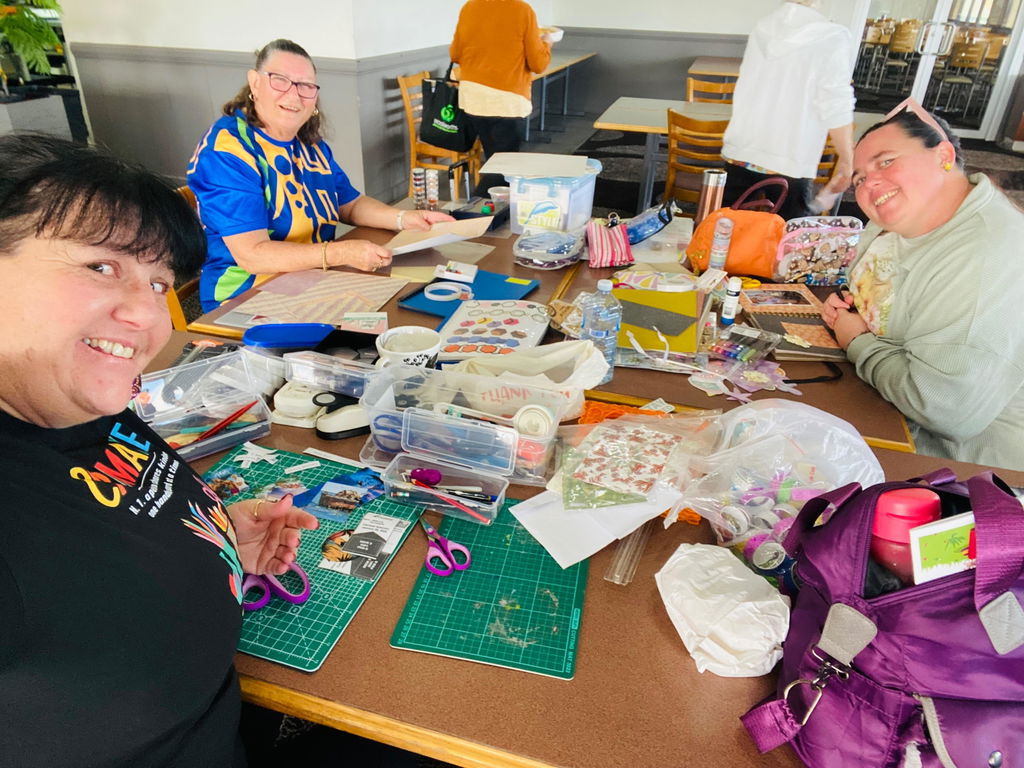
Creative Day! Project September 2025.
One of the highlights today was our Make & Take project, where everyone got hands-on making the most gorgeous little glassine envelope pockets. With a mix of embossing, inking, and layering fussy cut florals, each pocket turned out completely unique and just so pretty.
It’s always so inspiring to see how the same idea can take on so many different styles once everyone adds their own creative touch.
Products You’ll Need
Glassine envelope
Embossing folder (choose a pretty design)
Die-cutting machine (Big Shot or Cuttlebug)
Circle punch (optional, for creating a half-circle notch)
Distress Oxide inks (choose 2 coordinating colours)
Blending tool or sponge
Coloured muslin strips (pre-dyed or sprayed to match your inks)
Flourish die (we used Uniquely Creative Flourish Scroll Die)
White cardstock (for die cutting)
Fussy cut elements (flowers, leaves, etc.) Download the Printable
Adhesive (liquid glue or tape runner)
Bling or enamel dots
Tags (cut to fit inside the envelope)
Stamped sentiment or printed words
Step-by-Step Instructions
-
Emboss the Envelope
-
Place your glassine envelope inside a pretty embossing folder.
-
Run it through your Big Shot or Cuttlebug to emboss a gorgeous pattern.
-
-
Create a Pocket Opening (Optional)
-
Cut off the top flap of the envelope. (Optional).
-
If you cut that flap off, use a circle punch to punch a half-circle notch at the top.
-
This makes it easier to pull tags in and out.
-
-
Ink the Envelope
-
Select two coordinating Distress Oxide inks.
-
Blend the inks over the embossed glassine envelope for a soft, colorful finish.
-
-
Add Muslin Detail
-
Choose two strips of muslin in colors that coordinate with your inks.
-
Adhere the muslin across the center of the envelope.
-
-
Add a Flourish Die Cut
-
Cut the Uniquely Creative Flourish Die from white cardstock.
-
Adhere it over the muslin strip for extra texture.
-
-
Decorate with Fussy Cuts
-
Fussy cut flowers, leaves, or other elements.
-
Arrange them into a cluster and adhere to the center of the envelope.
-
-
Embellish
-
Add a little sparkle with bling or enamel dots.
-
-
Insert Tags
-
Cut a few tags that fit inside your envelope pocket.
-
Stamp a sentiment or add printed words to the front of the envelope.
-
And just like that, you have a beautiful decorated glassine envelope pocket—perfect for tags, journaling spots, or a little surprise in a scrapbook layout or junk journal!
.png "A QR code to click on to join Scrap of Your Life Facebook Community")