No Products in the Cart
Purchased paint never arrived after many emails I got 2 scam emails about trying to deliver…had to get bank to get my money back
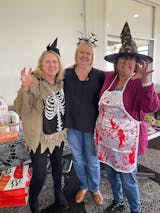
What a wonderful retreat at Kiah Ridge. Thank you, Julie, for the lovely environment you foster - friendship and fun. I loved the challenges and am thankful that you chose an ‘in it to win with a chance’ style of winning rather than making it about competing against others. Looking forward to the next retreat!
Aw, thank you so much Moi! It was lovely to see you again after so many years. I’m so glad you enjoyed Craftopia at Kiah Ridge.
It's fantastic to see everyone laughing, creating, and just soaking up the time together. The challenges are always one of my favorite parts too, and I love keeping them fun without the stress of competition—just a chance to join in, play along, and maybe win a little prize.
Hope you see again at another retreat next year..
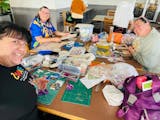
Fantastic group of people at the craft days, lots of products to purchase and a wonderful host!!!! Highly recommend you come and join in the fun!!
Myself & 2 mums attended first Sunday creative craft day. Nice welcoming crowd & lovely ladies all sitting & enjoying themselves. Homemade treats were a delight too. We will be back. Such a relaxing day 💞
Thank you for taking the time to leave us such a lovely review! I'm so glad you and your mums had a great time at our Sunday creative craft day. Sorry I wasn't there! I'm looking forward to seeing you next month. :)

 1. Cut your cardstock into 4 tags measuring approx 10x3.5 cm. Trim the top corners of each tag on the angle (to create the tag shape) and punch a small hole in each tag.


